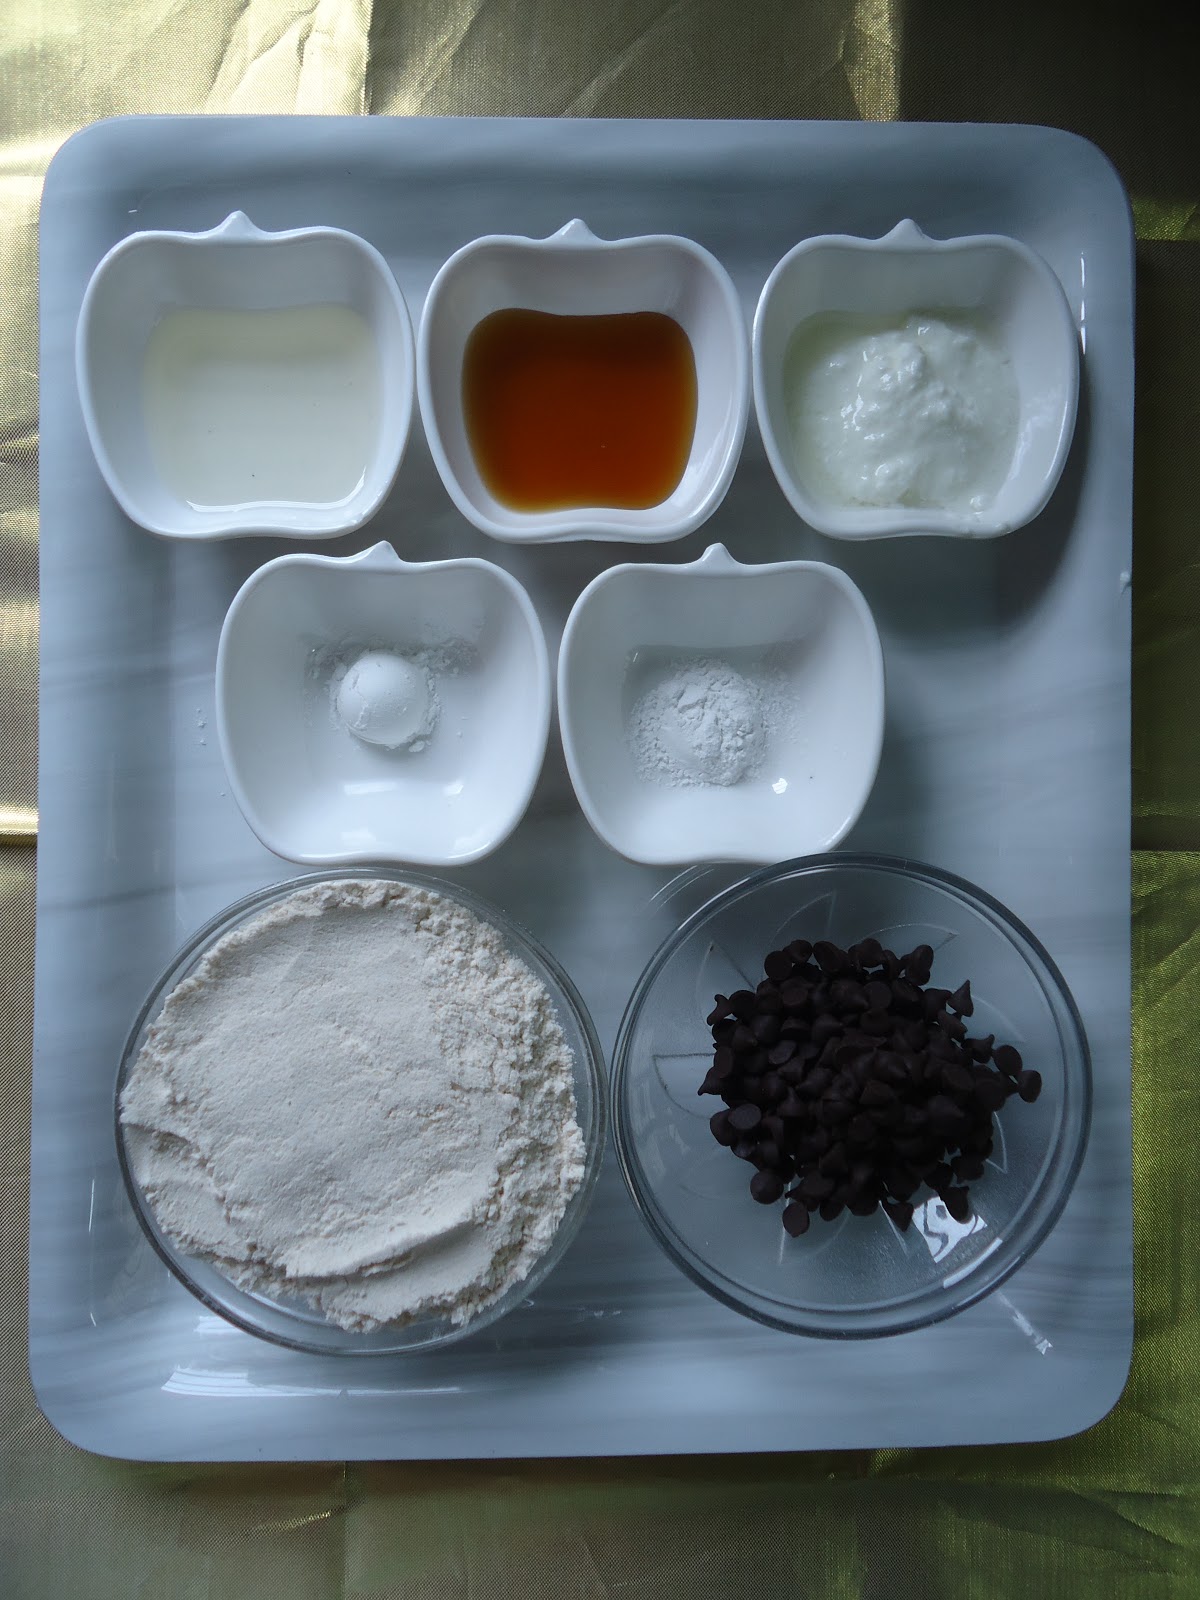
Sunday, December 03, 2017

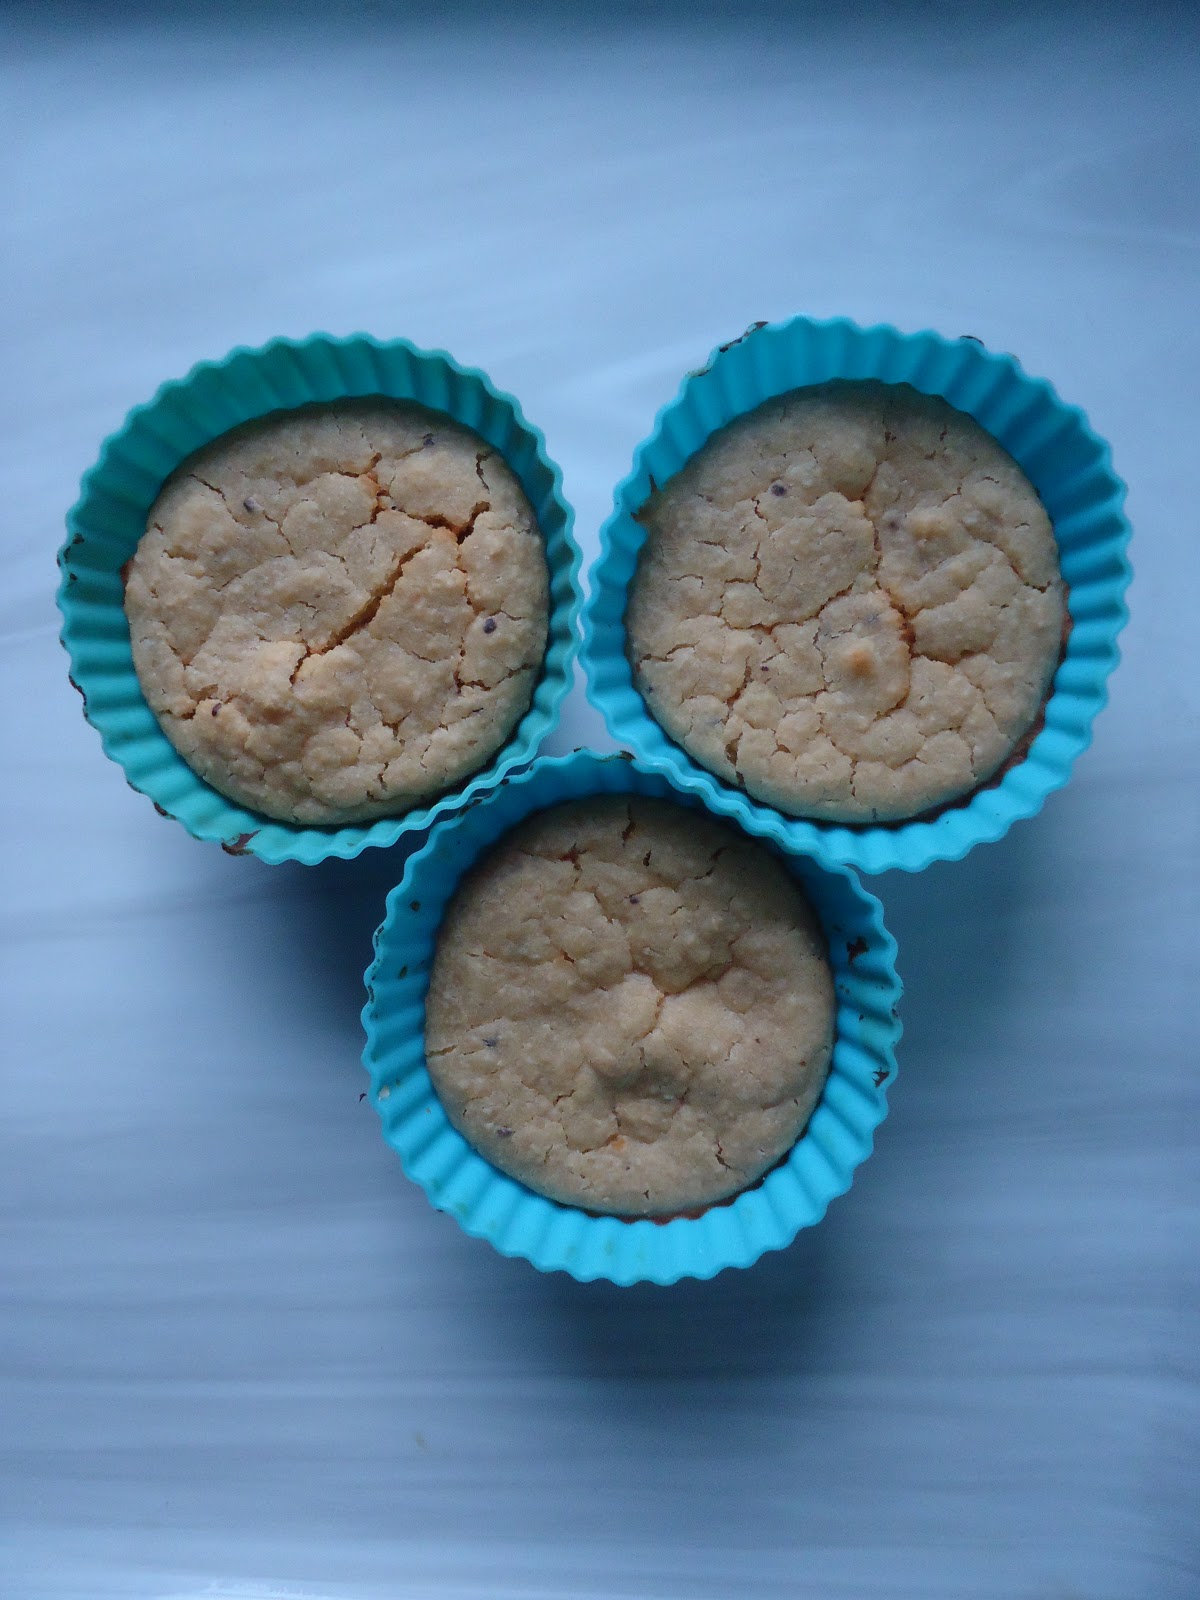
Healthy Kiwi Cupcakes

Hello all you happy people. I love kiwis and they remind me of the most amazing birthday I had, with my best friends. So I experimented with kiwis and came up with this recipe. I also made simple frosting using hung curd, but you can skip that and just make the cupcakes. Without further ado, let’s begin.

Ingredients:
Sr. no.
Ingredient
Quantity
1.
Whole wheat flour
3-4 tbsp.
2.
Oat flour
2 tbsp.
3.
Kiwi (pureed)
1 tbsp.
4.
Plain yogurt
2 tbsp.
5.
Honey
1-2 tbsp.
6.
Baking powder
1/4 tbsp.
7.
Baking soda
A pinch
8.
Vanilla essence
3-4 drops
9.
Water
1 ½ tbsp.
For frosting
1.
Hung curd
2 tbsp.
2.
Honey
1-2 tbsp.
3.
Kiwi (pureed)
1-2 tbsp.
 If you don’t have oat flour, just use regular flour.

Procedure:
1. Combine the plain yogurt and water in a mixer.
2. Add baking powder and baking soda to it and mix well. Let it rest for around 5 minutes. You will see that bubbles start appearing, this makes the cupcakes light and fluffy.


3. Add in the kiwi puree, honey and essence.

4. Gently fold the flour into the mixture.


5. Pour the batter into cupcake moulds.
6. Put some kind of ring at the base of the cooker and put the moulds on a plate placed on top. I have already demonstrated how to use cooker for baking in my older posts, you can see it here (https://ahappygirlwrites.blogspot.com/2016/12/eggless-chocolate-cupcakes-in-pressure.html).
7. Put on the lid of the cooker, without the whistle. Let the brownies bake for 10 minutes on high heat.
8. After turning off the heat, let the cooker cool down for 5 more minutes and then take the cupcakes out of the cooker.

For frosting:
To make the hug curd, add around 6-7 tbsp. of yogurt in a cloth, and squeeze out all the water. Tie it up to something, so that gravity can work on it.
1. In a bowl add the hung curd.

2. Add honey and kiwi puree to it.

3. Let this mixture rest in the freeze until the cupcakes cook.
4. You can use a piping bag to frost, but I was too lazy, so I just applied it on with a butter knife. I also added a small kiwi slice on the top. And then the cupcakes are ready to be served.
        I really love the sweet and tangy taste of the kiwis and these are my favourites for this winter. So friends, if you try this out, let me know how you like it, in the comments below. If you have any suggestions or if there is anything you want me to write about, feel free to catch up with me here or on Google+ or on Facebook (https://www.facebook.com/AHappyGirlWrites/) or Instagram (https://www.instagram.com/a,happy.girl.writes/) or on Twitter (https://twitter.com/A_Happy_Girl2) or Mirakee (http://www.mirakee.com/ahappygirlwrites) or Tumblr (https://www.tumblr.com/ahappygirlwritesor on Pinterest (https://in.pinterest.com/happygirlwrites) or on We Heart It (https://weheartit.com/ahappygirlwrites). Until next time, keep smiling and I will be back soon. Don’t forget to have a happy day J.

Sunday, November 26, 2017

Healthy fudgy chocolate brownies

Hello all you happy people. I have been experimenting with ingredients to come up with a recipe for good fudgy brownies and I was finally successful, so sharing with you the same. I used the ingredients that can be found easily in your kitchen (most of them) and made these in a pressure cooker (so that anyone can make those). So without further ado, let’s begin.
Ingredients:
Sr. no.
Ingredient
Quantity
1.
Whole wheat flour
3 tbsp.
2.
Soy flour
2 tbsp.
3.
Cocoa powder
1 tbsp.
4.
Plain yogurt
1 tbsp.
5.
Honey
1 tbsp.
6.
Over ripe banana
1 small
7.
Baking powder
1/2 tbsp.
8.
Water
1 tbsp.

I just happened to have soy flour (made by grinding soy granules/chunks in the mixer). If you don’t have it, just use regular flour.

Procedure:
1. In a large bowl, mash the banana.

2. Add yogurt to it and mix well.

3. Add rest of the ingredients, except water. Add more honey if you like them sweeter.

4. Finally add water ½ tbsp. at a time. You might need more/less water depending on the flour. Just make sure the batter has such a consistency that it falls easily, but is not too watery.

5. Pour the batter into silicone moulds or a tin lined with aluminium foil.

6. Put some kind of ring at the base of the cooker and put the moulds on a plate placed on top. I have already demonstrated how to use cooker for baking in my older posts, you can see it here (https://ahappygirlwrites.blogspot.com/2016/12/eggless-chocolate-cupcakes-in-pressure.html).
7. Put on the lid of the cooker, without the whistle. Let the brownies bake for 12 minutes on high heat.
8. After turning off the heat, let the cooker cool down for 10 more minutes and then take the brownies out of the cooker and then they are ready to be served.


        I used soy flour because it is rich in protein, so if you can find it, make sure to use it. Some people may not agree that banana and honey are exactly “healthy”, but for me they are, they contain natural sugar. I have chocolate cravings every now and then so they are fine with me, I can indulge in brownies without feeling guilty (wink). So friends, if you try this out, let me know how you like it, in the comments below. If you have any suggestions or if there is anything you want me to write about, feel free to catch up with me here or on Google+ or on Facebook (https://www.facebook.com/AHappyGirlWrites/) or Instagram (https://www.instagram.com/a,happy.girl.writes/) or on Twitter (https://twitter.com/A_Happy_Girl2) or Mirakee (http://www.mirakee.com/ahappygirlwrites) or Tumblr (https://www.tumblr.com/ahappygirlwritesor on Pinterest (https://in.pinterest.com/happygirlwrites) or on We Heart It (https://weheartit.com/ahappygirlwrites). Until next time, keep smiling and I will be back soon. Don’t forget to have a happy day J.

Sunday, November 19, 2017

DIY Activated Charcoal Peel-off Face Mask

Hello beauties. Today I have an easy activated charcoal face mask recipe for you all. The charcoal masks that you find in beauty stores aren’t exactly cheap, so I DIYed it with just three ingredients, I call beauty on a budget. So without further ado let’s see how to make it.
Ingredients:
Ingredient
Quantity
Gelatin
2 tsp.
Raw milk
1 ½ tbsp.
Activated charcoal powder
1/4 tsp.
(The links to buy activated charcoal powder and gelatin are at the end of this article.)
Procedure:
1. Mix all the ingredients in a steel bowl.
2. Put this bowl over a water bath. In simpler words put it in a larger container filled with hot water, so that the smaller bowl is only half immersed in it.
3. It will take around 2-3 minutes for the gelatin to melt completely. In the end you should get a smooth paste.
4. Apply it on your clean face with an old face pack brush. It is better if you apply the mask from top to bottom, so it is easier to remove.
Remember to keep it away from your eyes, eyebrows and hairline. You can apply Vaseline to your eyebrows and hairline so that the mask doesn’t stick to it. In case the mask still gets into the unwanted places, after it has dried, use hot water to remove it.
5. Let it dry completely, this will take around 20 minutes. Then peel it off very slowly and gently, firstly loosen the mask by gently tugging the ends and creating air gap in it. Take your time in removing it off your skin. It’s tough to peel it off, but trust me the effort is worth it.

6. After you have peeled it off, wash your face with cold water, to close the pores. And there you have your skin looking soft and glowing.
I’ll just briefly put in the benefits of the ingredients used in the mask. Activated Charcoal helps in clearing out dirt from your skin, fights acne and helps in achieving flawless complexion. Raw milk makes your skin look younger and healthier. It also helps in evening out the skin tone and acts as a moisturizer, so it’s great for the winters. Gelatin makes your skin softer and tighter, tell me who doesn’t want that? So to summarize it all, this pack is for softer, healthier and clearer looking skin. I have been in love with this pack, as it helped me clear out the white heads on my skin. You can use this mask twice a month.
So friends, if you try this out, let me know how it works for you in the comments below. If you have any suggestions or if there is anything you want me to write about, feel free to catch up with me here or on Google+ or on Facebook (https://www.facebook.com/AHappyGirlWrites/) or Instagram (https://www.instagram.com/a,happy.girl.writes/) or on Twitter (https://twitter.com/A_Happy_Girl2) or Mirakee (http://www.mirakee.com/ahappygirlwrites) or Tumblr (https://www.tumblr.com/ahappygirlwritesor on Pinterest (https://in.pinterest.com/happygirlwrites) or on We Heart It (https://weheartit.com/ahappygirlwrites). Until next time, keep smiling and I will be back soon. Don’t forget to have a happy day J.
Links to buy Activated charcoal powder:
You can find gelatin in the bakery section of any super market, it also is called as jello, just look for the unflavoured one. If you can’t find it here is a link to buy Gelatin powder:

Monday, October 09, 2017

Healthier Chocolate Chip Cookies

Hello all you happy people. Today I am sharing with you my take on the chocolate chip cookies. They taste great, are slightly on the healthier side and are made in a pressure cooker (so that anyone can make those). Without further ado, let’s begin.

Ingredients:
Sr. no.
Ingredient
Quantity
1.
Whole wheat/multi grain flour
½ cup
2.
Choco chips
2-3 tbsp. (depending on your choice)
3.
Coconut oil/ melted butter
1 ¼ tbsp.
4.
Plain yogurt
4 tsp.
5.
Honey
1-2 tsp.
6.
Cornflour
½ tsp.
7.
Baking powder
¼ tsp.
8.
Water
2 tbsp.

Procedure:
1. Add all the dry ingredients, namely flour, baking powder and cornflour in a large bowl.
2. Add in the oil, yogurt and honey.
3. Add the choco chips and start kneading the dough.
4. Start adding water and knead the dough until it resembles your chapatti dough.
5. Let the dough rest for 5 minutes. Then separate the dough into 5-7 portions, roll out the cookies and press them slightly with your palms.
6. Put some kind of ring at the base of the cooker and put the cookies on a plate greased with oil/butter.

7. Put on the lid of the cooker, without the whistle. Let the cookies bake for 10-12 minutes on high heat.
8. After turning off the heat, let the cookies rest for 7-10 more minutes and then take them out of the cooker, allow them to cool down completely and then they are ready to be served.
These cookies are slightly gooey and chewy, but I am sure they would treat your chocolate cravings. I hope you will give this easy recipe a tr and if you do, let me know in the comments below how you like it. If you have any suggestions or you want to share a picture of your recreation of this recipe, feel free to catch up with me here or on Google+ or on Facebook () or Instagram (a.happy.girl.writes) or on Twitter (A_Happy_Girl2) or Tumblr (ahappygirlwrites) or on We Heart It (ahappygirlwrites). Until next time, keep smiling and I will be back soon. Don’t forget to have a happy day J.