Showing posts with label Healthy Eating. Show all posts

Sunday, December 03, 2017

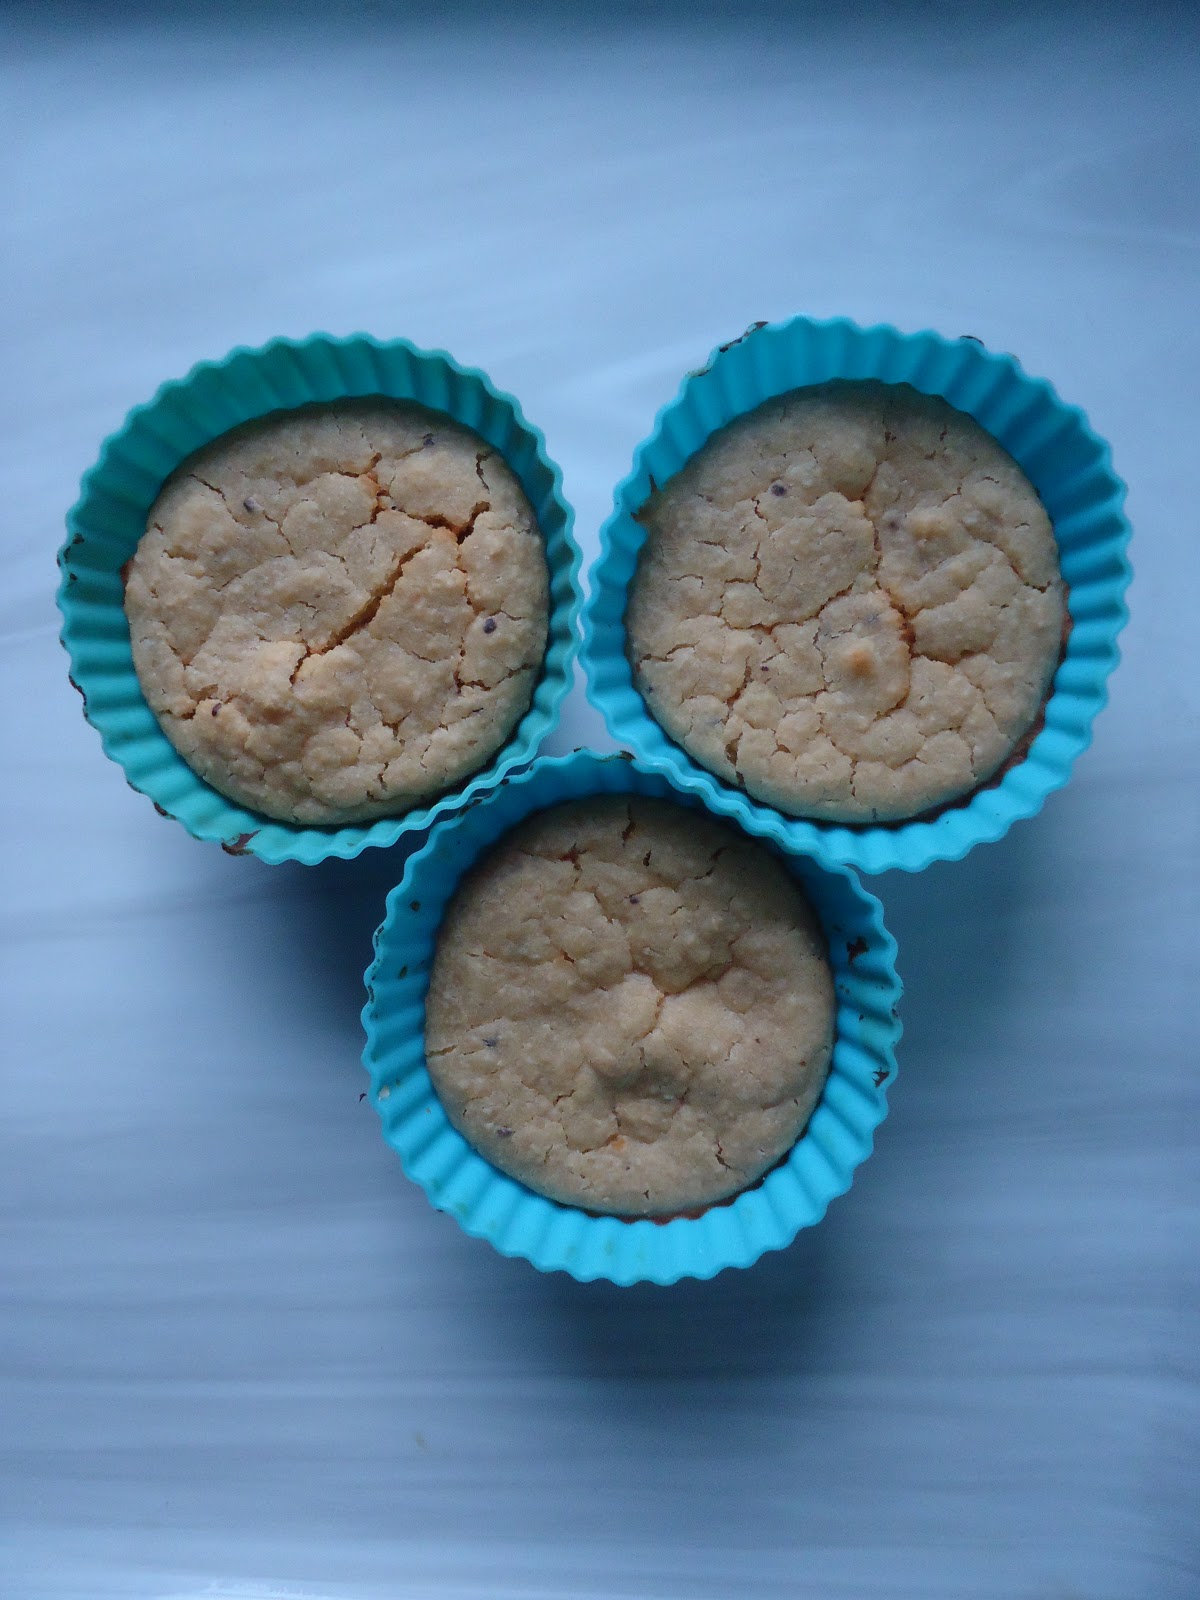
Healthy Kiwi Cupcakes

Hello all you happy people. I love kiwis and they remind me of the most amazing birthday I had, with my best friends. So I experimented with kiwis and came up with this recipe. I also made simple frosting using hung curd, but you can skip that and just make the cupcakes. Without further ado, let’s begin.

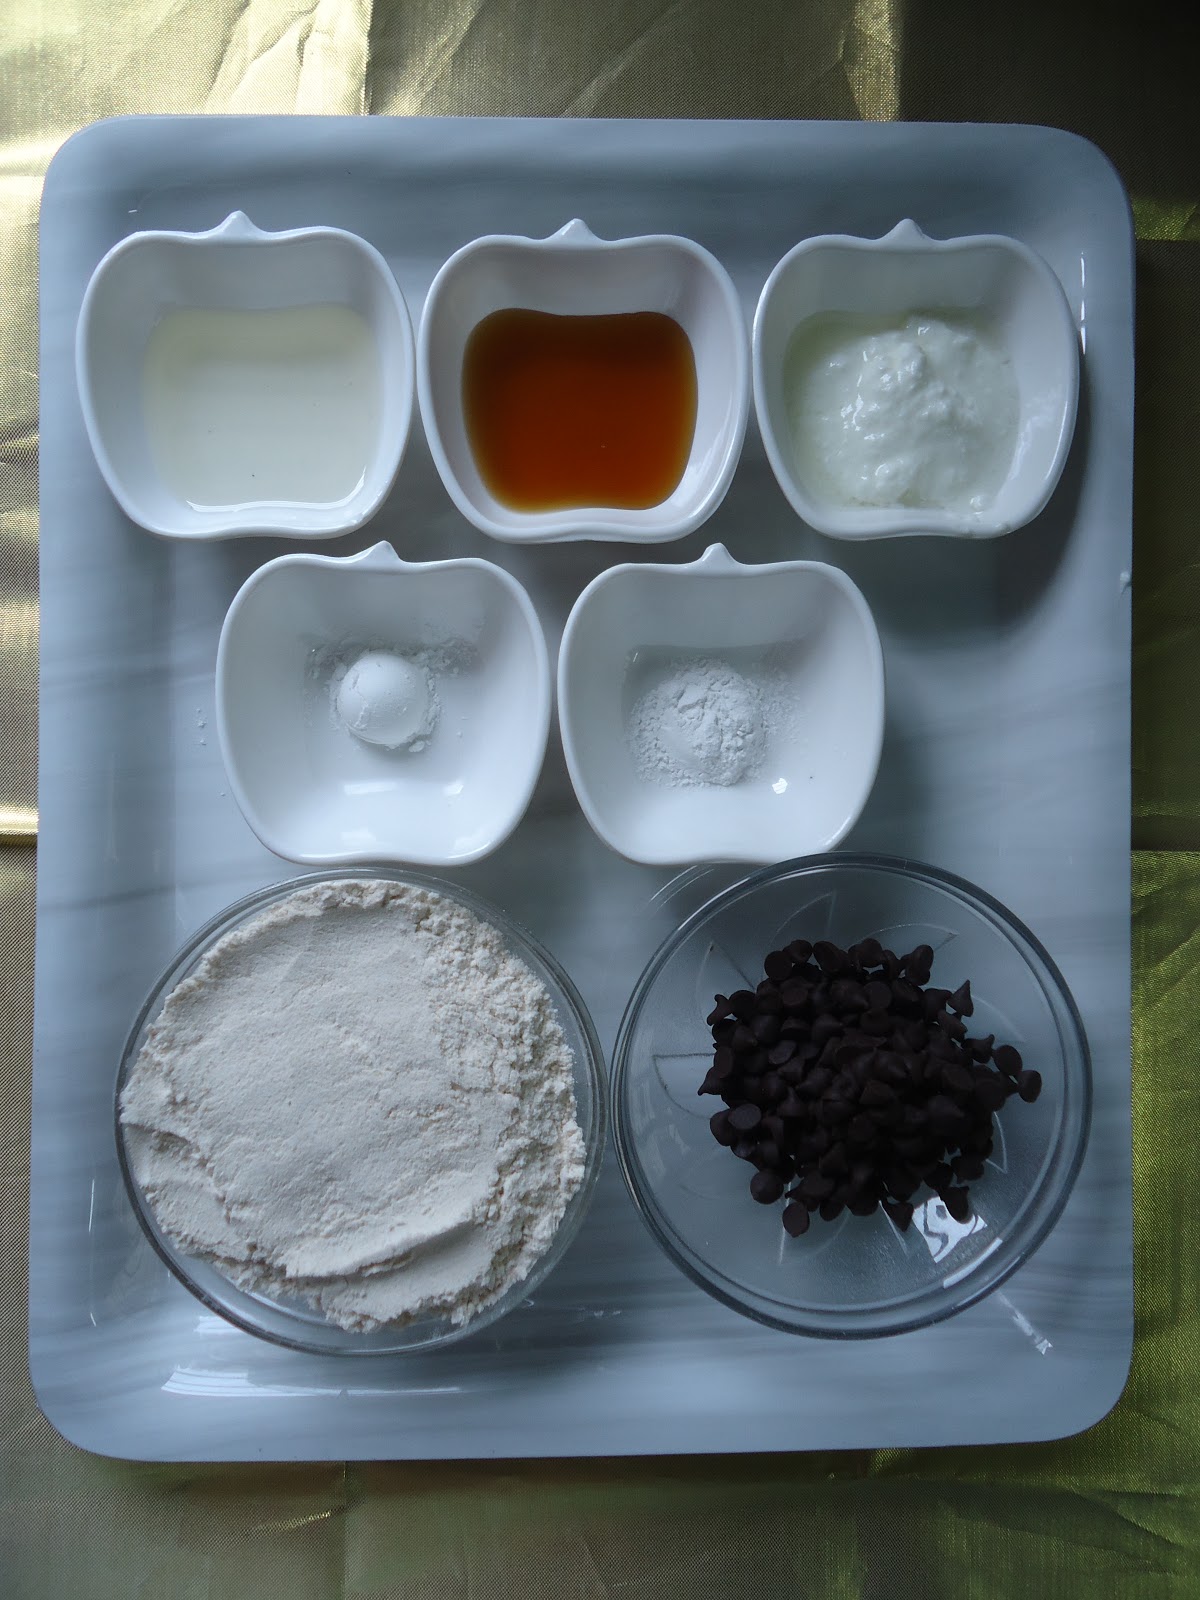
Ingredients:
Sr. no.
Ingredient
Quantity
1.
Whole wheat flour
3-4 tbsp.
2.
Oat flour
2 tbsp.
3.
Kiwi (pureed)
1 tbsp.
4.
Plain yogurt
2 tbsp.
5.
Honey
1-2 tbsp.
6.
Baking powder
1/4 tbsp.
7.
Baking soda
A pinch
8.
Vanilla essence
3-4 drops
9.
Water
1 ½ tbsp.
For frosting
1.
Hung curd
2 tbsp.
2.
Honey
1-2 tbsp.
3.
Kiwi (pureed)
1-2 tbsp.
 If you don’t have oat flour, just use regular flour.

Procedure:
1. Combine the plain yogurt and water in a mixer.
2. Add baking powder and baking soda to it and mix well. Let it rest for around 5 minutes. You will see that bubbles start appearing, this makes the cupcakes light and fluffy.


3. Add in the kiwi puree, honey and essence.

4. Gently fold the flour into the mixture.


5. Pour the batter into cupcake moulds.
6. Put some kind of ring at the base of the cooker and put the moulds on a plate placed on top. I have already demonstrated how to use cooker for baking in my older posts, you can see it here (https://ahappygirlwrites.blogspot.com/2016/12/eggless-chocolate-cupcakes-in-pressure.html).
7. Put on the lid of the cooker, without the whistle. Let the brownies bake for 10 minutes on high heat.
8. After turning off the heat, let the cooker cool down for 5 more minutes and then take the cupcakes out of the cooker.

For frosting:
To make the hug curd, add around 6-7 tbsp. of yogurt in a cloth, and squeeze out all the water. Tie it up to something, so that gravity can work on it.
1. In a bowl add the hung curd.

2. Add honey and kiwi puree to it.

3. Let this mixture rest in the freeze until the cupcakes cook.
4. You can use a piping bag to frost, but I was too lazy, so I just applied it on with a butter knife. I also added a small kiwi slice on the top. And then the cupcakes are ready to be served.
        I really love the sweet and tangy taste of the kiwis and these are my favourites for this winter. So friends, if you try this out, let me know how you like it, in the comments below. If you have any suggestions or if there is anything you want me to write about, feel free to catch up with me here or on Google+ or on Facebook (https://www.facebook.com/AHappyGirlWrites/) or Instagram (https://www.instagram.com/a,happy.girl.writes/) or on Twitter (https://twitter.com/A_Happy_Girl2) or Mirakee (http://www.mirakee.com/ahappygirlwrites) or Tumblr (https://www.tumblr.com/ahappygirlwritesor on Pinterest (https://in.pinterest.com/happygirlwrites) or on We Heart It (https://weheartit.com/ahappygirlwrites). Until next time, keep smiling and I will be back soon. Don’t forget to have a happy day J.

Sunday, November 26, 2017

Healthy fudgy chocolate brownies

Hello all you happy people. I have been experimenting with ingredients to come up with a recipe for good fudgy brownies and I was finally successful, so sharing with you the same. I used the ingredients that can be found easily in your kitchen (most of them) and made these in a pressure cooker (so that anyone can make those). So without further ado, let’s begin.
Ingredients:
Sr. no.
Ingredient
Quantity
1.
Whole wheat flour
3 tbsp.
2.
Soy flour
2 tbsp.
3.
Cocoa powder
1 tbsp.
4.
Plain yogurt
1 tbsp.
5.
Honey
1 tbsp.
6.
Over ripe banana
1 small
7.
Baking powder
1/2 tbsp.
8.
Water
1 tbsp.

I just happened to have soy flour (made by grinding soy granules/chunks in the mixer). If you don’t have it, just use regular flour.

Procedure:
1. In a large bowl, mash the banana.

2. Add yogurt to it and mix well.

3. Add rest of the ingredients, except water. Add more honey if you like them sweeter.

4. Finally add water ½ tbsp. at a time. You might need more/less water depending on the flour. Just make sure the batter has such a consistency that it falls easily, but is not too watery.

5. Pour the batter into silicone moulds or a tin lined with aluminium foil.

6. Put some kind of ring at the base of the cooker and put the moulds on a plate placed on top. I have already demonstrated how to use cooker for baking in my older posts, you can see it here (https://ahappygirlwrites.blogspot.com/2016/12/eggless-chocolate-cupcakes-in-pressure.html).
7. Put on the lid of the cooker, without the whistle. Let the brownies bake for 12 minutes on high heat.
8. After turning off the heat, let the cooker cool down for 10 more minutes and then take the brownies out of the cooker and then they are ready to be served.


        I used soy flour because it is rich in protein, so if you can find it, make sure to use it. Some people may not agree that banana and honey are exactly “healthy”, but for me they are, they contain natural sugar. I have chocolate cravings every now and then so they are fine with me, I can indulge in brownies without feeling guilty (wink). So friends, if you try this out, let me know how you like it, in the comments below. If you have any suggestions or if there is anything you want me to write about, feel free to catch up with me here or on Google+ or on Facebook (https://www.facebook.com/AHappyGirlWrites/) or Instagram (https://www.instagram.com/a,happy.girl.writes/) or on Twitter (https://twitter.com/A_Happy_Girl2) or Mirakee (http://www.mirakee.com/ahappygirlwrites) or Tumblr (https://www.tumblr.com/ahappygirlwritesor on Pinterest (https://in.pinterest.com/happygirlwrites) or on We Heart It (https://weheartit.com/ahappygirlwrites). Until next time, keep smiling and I will be back soon. Don’t forget to have a happy day J.

Monday, October 09, 2017

Healthier Chocolate Chip Cookies

Hello all you happy people. Today I am sharing with you my take on the chocolate chip cookies. They taste great, are slightly on the healthier side and are made in a pressure cooker (so that anyone can make those). Without further ado, let’s begin.

Ingredients:
Sr. no.
Ingredient
Quantity
1.
Whole wheat/multi grain flour
½ cup
2.
Choco chips
2-3 tbsp. (depending on your choice)
3.
Coconut oil/ melted butter
1 ¼ tbsp.
4.
Plain yogurt
4 tsp.
5.
Honey
1-2 tsp.
6.
Cornflour
½ tsp.
7.
Baking powder
¼ tsp.
8.
Water
2 tbsp.

Procedure:
1. Add all the dry ingredients, namely flour, baking powder and cornflour in a large bowl.
2. Add in the oil, yogurt and honey.
3. Add the choco chips and start kneading the dough.
4. Start adding water and knead the dough until it resembles your chapatti dough.
5. Let the dough rest for 5 minutes. Then separate the dough into 5-7 portions, roll out the cookies and press them slightly with your palms.
6. Put some kind of ring at the base of the cooker and put the cookies on a plate greased with oil/butter.

7. Put on the lid of the cooker, without the whistle. Let the cookies bake for 10-12 minutes on high heat.
8. After turning off the heat, let the cookies rest for 7-10 more minutes and then take them out of the cooker, allow them to cool down completely and then they are ready to be served.
These cookies are slightly gooey and chewy, but I am sure they would treat your chocolate cravings. I hope you will give this easy recipe a tr and if you do, let me know in the comments below how you like it. If you have any suggestions or you want to share a picture of your recreation of this recipe, feel free to catch up with me here or on Google+ or on Facebook () or Instagram (a.happy.girl.writes) or on Twitter (A_Happy_Girl2) or Tumblr (ahappygirlwrites) or on We Heart It (ahappygirlwrites). Until next time, keep smiling and I will be back soon. Don’t forget to have a happy day J.

Sunday, November 20, 2016

Healthy Sambar/Kothimbir/Pudachi Wadi (Nagpur Style)

Hello everyone. I hope you all are doing great. Today I am going to share with you my favourite “winter special” dish aka Kothimbir wadi. It is a popular snack all year around in my region (read Nagpur), but it is a winter special recipe because the main ingredient i.e. coriander is found in its purest, freshest form in the winters. Traditionally, the coriander filling is stuffed into rolled out gram flour (besan) dough and then it is deep fried. But here I give you a healthier version of this lip smacking snack. So without further ado, let’s get started with the recipe. Here is what you will need,

Ingredient
Quantity
1.
Coriander (finely chopped)
¾ cup
2.
Gram flour (Besan)
½ cup
3.
Wheat/Multi grain flour
½ cup
4.
Onion (finely chopped)
1 small
5.
Garlic
2 cloves
6.
Ginger
1 small piece
7.
Green chillies
1 large or 2 small
8.
Coconut (grated)
1 tbsp.
9.
Poppy seeds (khus-khus)
¼ tsp.
10.
Tumeric powder
¼ + ¼ tsp.
11.
Red chilli powder
¼ + ¼ tsp.
12.
Lemon juice
½ tsp.
13.
Oil
1+1 tsp.
14.
Dry fruits (chopped)
1 tbsp.
15.
Salt
To taste
16.
Water


Procedure:
1. To make the dough, mix gram flour, wheat/multi grain flour, ¼ tsp each of turmeric powder and red chilli powder. Add salt to taste.
2. Heat 1 tsp. oil and add the steaming hot oil into the mixture.
3. Slowly add in water, 1 tsp. at a time and make a tight dough. You will need around 2-3 tsp. water. And let it rest until we make the filling.
4. For the filling, first roast the grated coconut until it is slightly brown. Let it cool.
5. Grind garlic, ginger and green chillies.
6. In a non-stick pan, heat ½ tsp. oil. Add the onions and chilli-ginger-garlic paste. Fry it until the onions turns slightly brown.
7. Add the poppy seeds and the dry fruits. Roast them for a few minutes.
8. Add turmeric powder, chilli powder and salt. Then add in the coriander.
9. Finally add the roasted coconut and lemon juice. Now your filling is ready.
10. Divide the dough into two equal parts. . Dust some flour on the rolling board and roll out each one into medium sized chapatis. The chapatis shouldn’t be too thin.
11. Now divide the filling into two and make the wadis as shown. Add the filling to the chapatti. Then, first turn the chapati into half and press down the sides, then gently roll it back to make a rectangle, the finally close the other two sides. Then press all the sides firmly so that there is no gap in the covering. It is really difficult to put these steps into words (#awkward).
12. Now add the wadis into the steamer. Read the steps 11, 12 and 13 of the steamed modaks article (http://ahappygirlwrites.blogspot.com/2014/08/healthy-steamed-modaks.html) to know how to do so.
13. Let these steam for around 20 minutes on high heat and then let them sit in steamer for 10 more minutes after turning off the heat.
14. Now add remaining oil into the non-stick pan and fry the wadis (on medium heat) until they are nice and crisp. It takes around 4-5 minutes on each side. And then these tasty kothimbir wadis are ready to serve. I like to have them warm with the home-made tamarind sauce.


I know this is a slightly exhausting dish to make, but trust me all your hard work is worth it. These wadis taste exactly like the fried ones just way less oily. So friends, I hope that you will give this recipe a try and if you do, let me know in the comments below how you like it. If you have any suggestions or if there is anything you want me to write about or you want to share a picture of your recreation of this recipe, feel free to catch up with me here or on Google+ or on Facebook (https://www.facebook.com/AHappyGirlWrites) or Instagram (a.happy.girl.writes) or on Twitter (A_Happy_Girl2) or Snapchat (ahappy.girl) or Tumblr (ahappygirlwrites) or on We Heart It (ahappygirlwrites). Until next time, keep smiling and I will be back soon. Don’t forget to have a happy day J.