Thursday, September 18, 2014

Healthy Oats-Moong Dal Khichdi

Hello my lovely friends. I hope you are doing great. Khichdi is one of my favorite foods of all time. For me it’s a “food for my soul”. So I decide to give it a little healthier twist and made the traditional khichdi with oats. This recipe is very easy to make and it tastes amazing. I personally like to have it as a dinner. Without further ado let’s get started.
Here’s what you will need
Ingredients:
1. 1 cup Oats
2. 1/3 cup Moong dal
3. ¼ tsp Garam masala
4. 1 1/2 tbsp chopped Coriander
5. ½ tsp oil
6. ½ tsp turmeric powder
7. Salt to taste
8. 2-3 cups Water
To be grind into paste
1. 1 large Onion
2. 2 cloves of Garlic
3. ½ inch Ginger
4. 2 medium sized Green chilies
5. ¼ tsp jeera
Procedure:
1. Wash the moong dal and soak the moong dal in 1½ cups water for about 3-4 hours. This will help to cook it a bit faster.
2. 15-20 minutes before cooking the khichdi add in the oats to the soaked moong dal.
3. Heat the oil in a non stick pan on medium heat.
4. Add the onion-ginger-garlic-green chilies paste and sauté the paste for 2-3 minutes.
5. Add in turmeric and salt.
6. Transfer the soaked oats-moong dal mixture (along with the water) to the pan.
7. Cover the pan and let the khichdi cook for about 10 minutes. Add in some water if needed.
8. Add the garam masala and chopped coriander and let the khichdi cook for another 5 minutes.
9. To know whether the khichdi is cooked or not check whether the moong dal has softened or not.
10. Adjust the consistency of the khichdi as per your personal taste. I personally like the porridge like consistency :D
11. Serve it hot with chutney or pickle or you can enjoy it on its own.
So friends if you decide to try this recipe then don’t forget to tell me in the comments whether you like it or not. Goodbye my dear friends and I promise to meet you all on Sunday. Until then Keep Smiling. Please do follow my blog, like the facebook page. (https://www.facebook.com/pages/A-Happy-Girl/292903830872974?ref_type=bookmark) and follow me on twitter (https://twitter.com/A_Happy_Girl2) as well as on Google Plus. If you have any suggestions or questions, please comment below.

Tuesday, September 09, 2014

DIY Toners

Hello beautiful ladies. I hope you are having an amazing day. Today I am going to share with you 2 easy DIY toners. Not many drugstore toners are available in India so jugaad is must :D . So here are the jugaads.
Green tea – Rosewater toner
You will need-
1. 1 tsp Green tea (1 teabag would also be sufficient)
2. ½ cup water
3. ½ cup rosewater
Procedure:                     
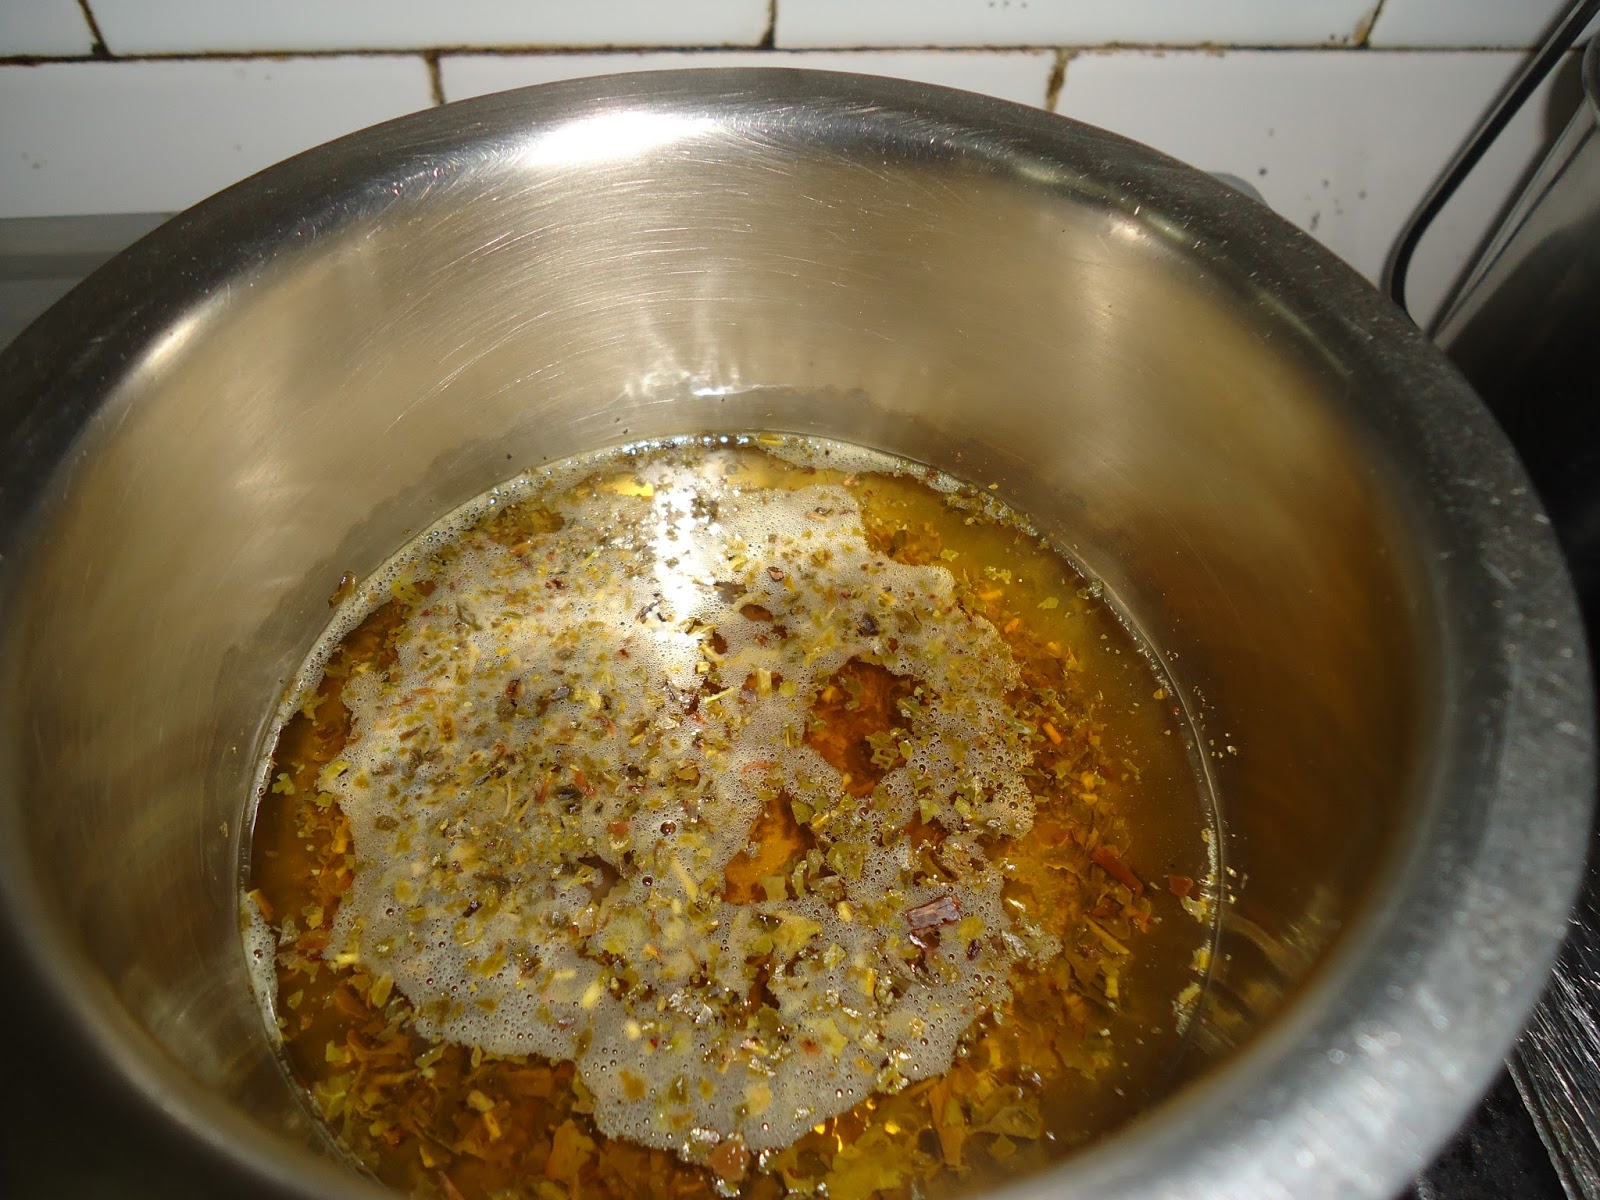
1. Boil the water and then add green tea to it.
2. Strain the tea and let it cool down.
3. Mix rosewater with the green tea. (Read my DIY rosewater post here http://ahappygirlwrites.blogspot.com/2014/08/diy-rosewater.html )
4. Store it in plastic bottle or a spray bottle.

Cucumber – Mint toner

You will need-
1. 1 medium sized cucumber
2. ½ cup water
3. 5-7 mint leaves
Procedure:
1. Boil the water and then add mint leaves to it.
2. Strain the mint water and let it cool down.
3. Get the cucumber juice. (You can find the method to extract cucumber juice in this post http://ahappygirlwrites.blogspot.com/2014/07/cucumber-potato-face-pack.html)
4. Mix the cucumber juice & mint water. Store it in plastic bottle or spray bottle.
How to apply:
After you have washed your face and wiped it dry. Spray some toner on your face. Use cotton or your clean hands to spread it evenly on your face. Let it sink in your skin. This will take at least 2-3 minutes. Then you can proceed with rest of your skincare and makeup routine.
Why is toner important???
The main job of toner is to close the open pores. So that dirt, etc does not get clogged into it. This is why toner should be the 2nd step in your skincare routine, 1st being washing. So if you deal with the problem of blackheads, whiteheads or open pores, use toner regularly.
So friends I hope you try out these toners. Do let me know in the comments how it works for your skin. Goodbye my dear friends and I promise to meet you all on Sunday. Until then Keep Smiling. Please do follow my blog, like the facebook page. (https://www.facebook.com/pages/A-Happy-Girl/292903830872974?ref_type=bookmark) and follow me on twitter (https://twitter.com/A_Happy_Girl2) as well as on Google Plus. If you have any suggestions or questions, please comment below.


Sunday, August 31, 2014

The power of Thanks

Hello all you happy people. I hope you all are having an amazing day till now. I wrote an article called “Being Thankful” sometime ago and I am practically experiencing the amazing effect of being thankful. Continue reading to know how.
I have been telling you all in my previous articles that I moved to a new city nearly a month ago. As I am new to this city, I decided to explore this city. The best way to do this is by public transport (read buses run by local Municipal Corporation). I have two reasons to travel by the bus. Firstly buses are lot cheaper and secondly you find the real local people in the buses. I obviously do not know the bus routes so I ask for directions from the people standing on the bus stop, the bus conductor and the person sitting or standing beside me in the bus. Because I believe that real people are better at telling directions than Google Maps. I ask many questions to the person at the other end and I usually end my conversation with a simple word Thanks or Dhanyawad.
I never really knew the significance of this word until now. But now I guess I do. I believe that “Thanks” is a magical word that puts a smile on people’s face. The amount of smile might differ from person to person though. Like the middle aged ladies (whom I refer to as Maushis) and school going kids are the happiest whereas the Uncles (whom I refer to as Kakas) and the people of my age group give me a faint but noticeable smile. I think that people yearn to hear this simple word thanks. Because it makes you feel better, it makes you feel that you really are an important person. I feel so happy that I could put a smile on someone’s face and that I could make them feel important. I know the smile might last for a very short period of time but that just makes me feel good. I believe that happy people are beautiful and I just want everyone to be happy. And if I manage to make someone happy, I feel blessed.
So the next time you take even slightest bit of help from someone, don’t forget to thank that person. It might just make his/her day a little better. If you agree, then let me know in the comments below. And I take this opportunity to thank all my lovely readers. You are the reason that I am a much confident writer now. I hope this puts a smile on your face.
Goodbye my dear friends and I will see you very soon. Until then Keep Smiling. Please do follow my blog, like the facebook page. (https://www.facebook.com/pages/A-Happy-Girl/292903830872974?ref_type=bookmark), follow me on twitter (https://twitter.com/A_Happy_Girl2) as well as on Google Plus. If you have any suggestions or questions, please comment below.
P.S.: I hope you like this talented THanks.

Friday, August 29, 2014

Healthy Steamed Modaks

Hello all you smiley faces. I wish you all a very Happy Ganesh Chaturthi. Our beloved Ganpati Bappa is finally here. Bappa loves Modaks so today I have a healthier version of it to share with you all. So here we go.
Ingredients:
For filling
1. ½ cup desiccated Coconut
2. ¼ cup Jaggery
3. 3 tbsp. Dry fruits
4. 1-2 tbsp. Cocoa powder (optional)
5. ½ cup Milk
(I used double the amount of filling ingredients because I was going to make another batch on the next day :D)
For dough
1. 1 cup Rice flour
2. ¼ cup Corn flour
3. 1¼ cup Water
4. ½ + ½ tsp. oil
You will also need a steamer or you can also jugaad with a large vessel and a sieve. The circumference of the sieve should be nearly equal to that of the utensil.
Procedure:
1. To a non-stick pan, add desiccated coconut and milk. Mix well for about 3-4 minutes on medium heat.
2. Add jaggery to it and let it cook for about 5 minutes. Keep stirring it.
3. Add cocoa powder and dry fruits to it. Mix it well.
4. Turn off the heat after 3-4 minutes. The mixture should have lost water by this time. Keep it aside to cool.
5. For the dough, mix corn flour, rice flour, ¾ cup water and ½ tsp. oil. Roughly knead the dough.
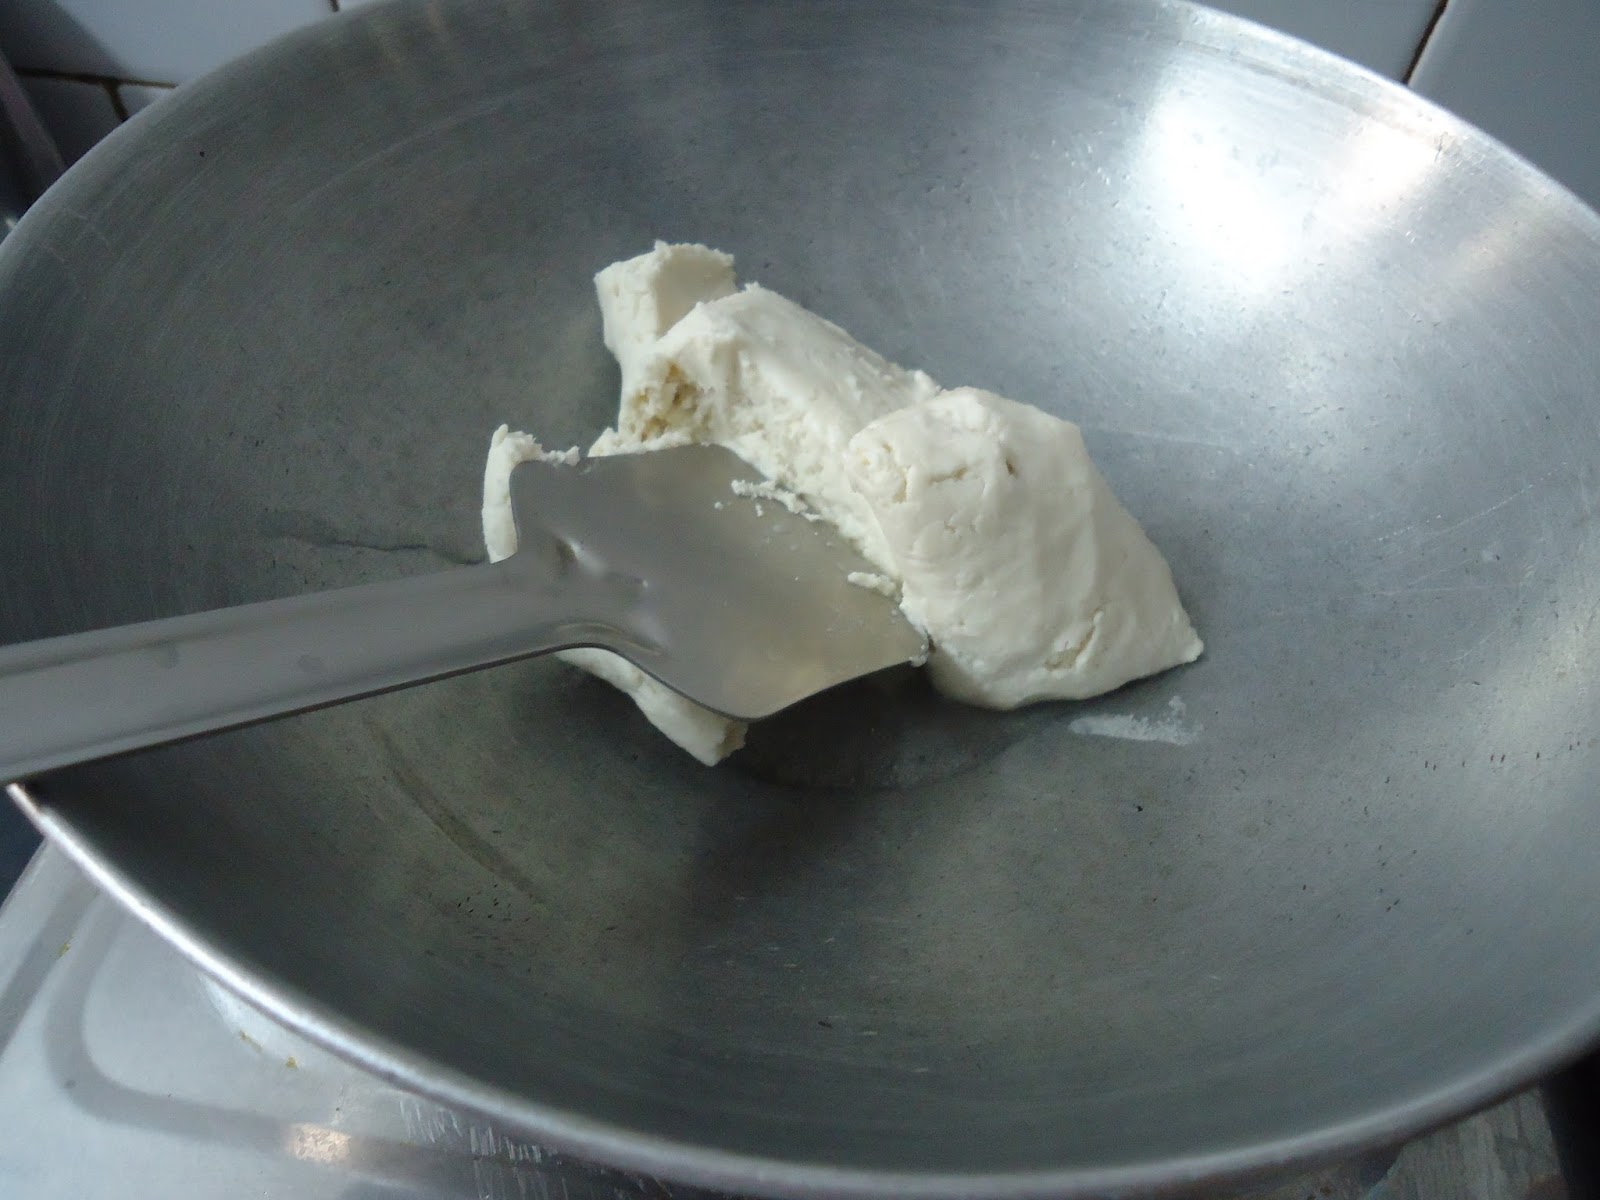
6. To a thick bottomed pan or kadhai, boil ½ cup water. Add the kneaded dough to it. Mix well.
7. Cover the pan and let the dough cook for around 5 minutes or until it changes its colour to off-white. You need to keep mixing it after every 1 minute or so.
8. After the dough has cooled slightly, knead it well and divide it into 21+1 equal portions.
9. Make small chapatis by flattening the ball with your fingers. You can even use a rolling pin if you need.
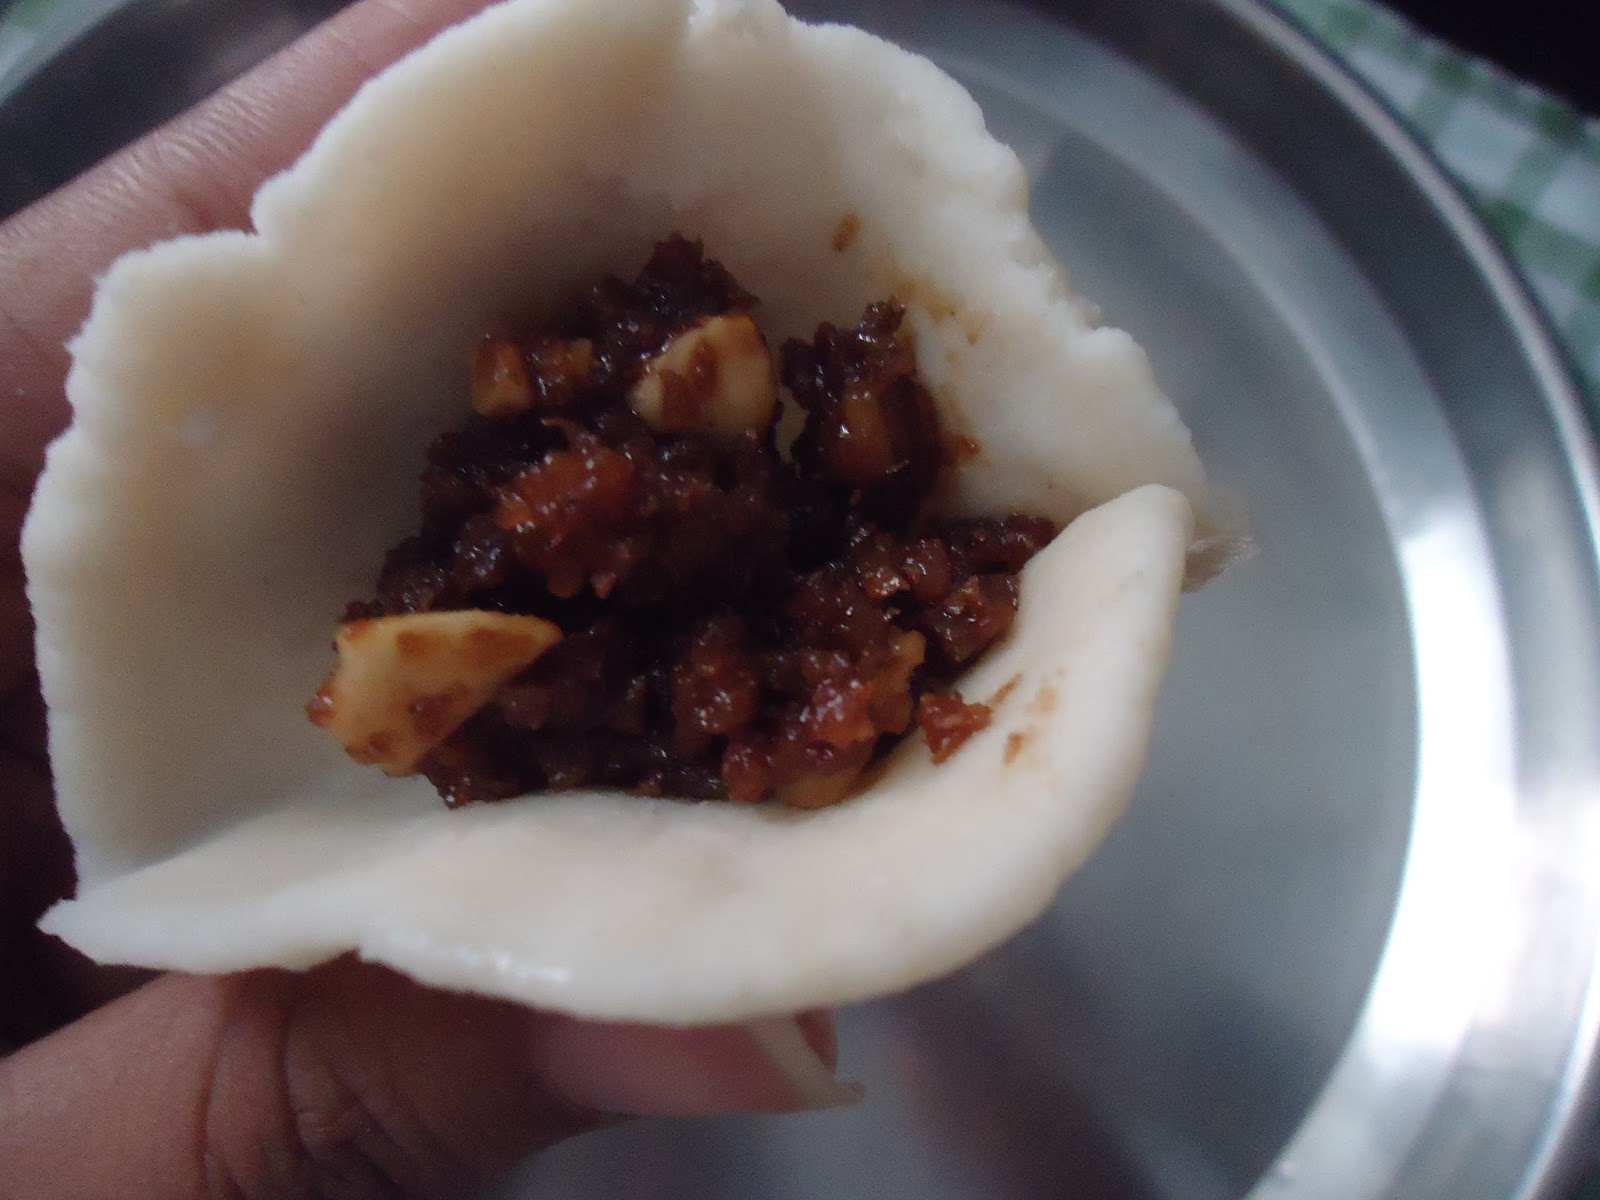
10. Place small amount of filling into the chapati and mould it into a modak. My modaks weren’t perfect because I am not an experienced Modak maker :D
11. Fill a large vessel nearly 20% with water. Let the water boil. There should be enough gap between the water and the sieve.
12. Grease a sieve with ½ tsp. oil and place all the modaks in it.
13. Place this sieve on the utensil and cover it with a plate.
14. Let the modaks steam for around 10-12 minutes on medium heat or until the modaks again change their colour to deeper off white.
15. Then remove the sieve and let the modaks cool a little. These modaks taste great when they are warm.
So friends I hope you like this healthy but yummy recipe. If you decide to try it out, let me know whether you like it or not. Goodbye my dear friends and I will see you soon. Until then Keep Smiling. Please do follow my blog, like the facebook page. (https://www.facebook.com/pages/A-Happy-Girl/292903830872974?ref_type=bookmark), follow me on twitter (https://twitter.com/A_Happy_Girl2) as well as on Google Plus. If you have any suggestions or questions, please comment below.

Tuesday, August 26, 2014

Skincare routine for guys

Hello friends. I hope you all are doing great. Today I have a skincare routine for guys, strange right? Skincare & beauty is usually considered as a girly thing. But I strongly believe that if you want to look good, you need to take care of your skin irrespective of your gender. There were two inspirations behind writing this article. The first one was that many of my friends & cousins come to me & ask me to give them some tips to look good & fair, mostly to impress the opposite gender ;). The other one was that I have received lot of flak from guys for writing beauty tips articles for girls. So I decided to write a sort-of-beauty tips article for those guys. That’s called height of sarcasm :D So here we go.
1. Identifying your skin type – This is the most important step for any skincare routine because it helps to choose products suitable for your skin type. What I have noticed till now is that guys are usually unaware of their skin type. No worries boys here is the classification.
a) Oily skin – If there is lot of secretion of oil from your skin, it is oily. Use products that read oil control or oil balance.
b) Dry skin – If your skin lacks oil or moisture, your skin is dry. Use products that read moisture block or lock.
c) Normal skin – If your skin has only essential amount of oil, you are a normal skinned person. Use products that read for normal skin type.
d) Combination skin – It is a cross between oily and dry. Some areas of your face might be dry and some might be very oily or you might have oily skin during summers and dry skin during winters. You people need a combination of products that work for oily skin as well as dry skin.
e) Sensitive skin - If you get lot of breakouts or your skin gets affected easily by anything, then you have sensitive skin. Use products that read especially for sensitive skin.
Many of the guys usually fall under category no. a & d.
2. Wash – You need to wash your face at least twice a day (before starting your hectic day @office and after you complete your day) with a good quality facewash suitable for your skin type. There are so many brands, namely Nivea, Everyuth, VLCC, Himalaya, Park avenue, Garnier, Ponds, L’oreal, etc selling facewashes especially designed for men’s tough skin. So on your next visit to the supermarket, just pick any one of these.
3. Scrub – Scrubbing your face at least twice a week is essential to remove blackheads, whiteheads, dead skin cells, etc. My tip here is to wet your face and apply coin sized amount of scrub and massage it onto your skin for 2 minutes and then rinse it off.
4. Moisturize – After you have washed your face, you need to apply little bit of moisturizer (with some SPF) on your skin, irrespective of your skin type. The amount may vary depending on your skin type. After you have done this, you can freely powder your face :D
5. Facial – There a tons of salons that have this facility. Facials can be done either once a month or once in two months depending on the damage caused by pollution :D. Or if you want you can do an At-Home-Facial by washing, scrubbing and applying a facepack.  I do have a pack that worked wonders for my cousin. You can read it here (http://ahappygirlwrites.blogspot.com/2014/06/multani-mitti-chandan-face-p.html)
So these are some of my skincare tips that guys need to follow in order to look good in addition to trimming your facial hair. I don’t really need to discuss about it, do I? But my tips are to use shaving products that do not contain alcohol and never to skip an after shave. I can guarantee that with proper skin care, you can get a clean and smooth skin. If you are a guy, reading this article, I just hope that these tips were helpful to you. Let me know what you think in the comments down below. And if you are a girl, do invite your brothers and friends to read this article.
Goodbye my dear friends and I will see you on soon with a very healthy recipe for Ganesh Chaturthi. Until then Keep Smiling. Please do follow my blog, like the facebook page. (https://www.facebook.com/pages/A-Happy-Girl/292903830872974?ref_type=bookmark), follow me on twitter (https://twitter.com/A_Happy_Girl2) as well as on Google Plus. If you have any suggestions or questions, please comment below.


Sunday, August 24, 2014

Life Lessons from a Money Plant

Hello all you happy people. I hope you all are having an amazing weekend till now. Today I am going to talk about my dear money plant. It has a name by the way. I named it MadhuSudh (Combination of my amazing late grandfathers’ names viz. Madhukar and Sudhakar). If naming a plant is considered as weird, then I am proud to be a weirdo :D, anyways happy reading.
So the story begins with me planting a tiny money plant in a small water-filled bottle. I planted it just to enhance the appearance of my room. Little did I know that it would teach me so much about life albeit silently. It didn’t show any signs of growth initially but I kept on watering it regularly and waited patiently for the signs of a new leaf. After about a month or so, I saw a tiny leaf enclosed in a sheath, sprouting from the stem. I was the happiest person on the earth. My darling was actually growing up. I had somehow developed sisterly feelings towards it because I have forever been an elder sister to so many little cousins.
Watching it grow was so soothing to my soul. My academic growth had almost stopped during that time and all I wanted was to be successful. But that little guy taught me that you cannot reach ginormous heights in a short period of time. You need to take baby steps every day to be successful. This was the first lesson that it taught me.
When I moved out of my parents’ house, I wanted to take it with me. But I was unsure whether the little guy would be able to handle this 18+ hours journey trapped in a Ziploc bag. But we were meant to be together and so it did survive. It is still with me, still growing little by little every day. This was its second lesson. No matter how many hardships you face, you are capable of handling them all because you are meant to be a winner.
Another characteristic of the money plant is that a new leaf grows from the stem attached to an old leaf. And the new leaf is firmly attached to its parent leaf. So this is a lesson for every one of us. No matter how successful or independent you become, you should never forget your roots. You should never leave your parents. I mean you might move away from your hometown and settle at some other place, but you should never leave your parents alone. Always stay connected with them emotionally. The happiness of your Mom and Dad should always be your top priority.
So friends I hope you enjoyed reading this article and if you agree with the teachings of MadhuSudh. Let me know in the comments section, whether you liked this article or not. Goodbye my dear friends and I will see you soon. Until then Keep Smiling. Please do follow my blog, like the facebook page. (https://www.facebook.com/pages/A-Happy-Girl/292903830872974?ref_type=bookmark), follow me on twitter (https://twitter.com/A_Happy_Girl2) as well as on Google Plus. If you have any suggestions or questions, please comment below.


Friday, August 22, 2014

At Home Cardio

Hello healthy people. I hope you all are doing great. Today I am going to share with you some of my favourite cardio workouts. In my words Cardio is anything that gets your body sweating. So if you want some tips to get your body working, read on.
1. Spot Jogging – This is the best cardio workout for beginners. All you need to do is keep your body straight and jog on the spot. Always start by jogging slowly and then gradually increase your speed. Initially lift your feet (one at a time of course) about an inch from the ground and then slowly increase the distance between your feet and ground. Move your hands as well so that this exercise gets your whole body moving.
2. Jumping Jacks – This is again full body cardio workout. Start with your feet together and arms at your side. Then take a small leap in the air, bring your legs to your side and land in this position. The only tip to avoid injury is that make sure that your feet are perfectly parallel to the ground, when you land. 
3. Skipping – This was the exercise that I hated doing when I was a kid. But now I am in love with it. You can also do the skipping action without a rope. I mean if I can do it, you can as well.
4. Knee Highs –  This exercise is just the exercise for your lower body. Stand straight and then lift your leg as high as you can. Repeat for other leg as well. This action should be performed swiftly or else t won’t be considered as a cardio. You can even move your hands because more you more, more you lose.
5. Walking – This might not burn as many calories as the other cardio exercise, but this is great if you are new to cardio or exercising in general. Half an hour of swift walk everyday gives you a lean body.
Tips to remember-
1. Always do some stretching exercises before and after doing cardio. It can be bending down to touch your toes, a side stretch or just any stretch.
2. Start by doing first 4 exercises for 30 seconds each. So, one set will be of 2 minutes.
3. After you get used to this regime, say in 2-3 days, increase the number of sets. Take 30 seconds break in between each set.
4. Do not over exert yourself. If you cannot do 4 sets at one go, its fine. Do 2 in the morning and 2 in the evening.
5. Wear comfortable clothes for cardio because you sweat a lot.
So friends here are some of the exercises that I love to do in order to get my body working. If this article inspired you to start a cardio regime, let me know in the comments. I will surely come up with a part 2 of this sans internet available pictures. Goodbye friends and I will meet you soon. Until then Keep Smiling. Please do follow my blog, like the facebook page. (https://www.facebook.com/pages/A-Happy-Girl/292903830872974?ref_type=bookmark), follow me on twitter (https://twitter.com/A_Happy_Girl2) as well as on Google Plus. If you have any suggestions or questions, please comment below.